How to deal with leaky walls
01-05-2026 | Damaged PropertyDiscovering a leaky wall in your rental property can be frustrating and can often set off alarm bells for your rental property. Whether it’s a subtle discolouration, the scent of musty air, or peeling wallpaper, there are certain steps you should take to rectify the issue as soon as possible.
Besides ruining the aesthetic of your property, leaky walls that are left unaddressed will also compromise its structural integrity. Unsurprisingly, any damp left will become a breeding ground for toxic mould, resulting in health risks for your tenants. Here, we’ll look at how to deal with leaky walls in your rental property, making sure you know how to deal with the issue as soon as it arises.
Diagnosing leaky walls
There are a few things you should do before reaching for the spackle or the plumber’s number. You’ll need to try to identify the source first. Water travels along pipes or joists, which means that the wet spot might be feet away from the actual entry point. Let’s look at the difference between external and internal leaks.
External vs. internal leaks
The first thing you need to do is determine whether or not the leak is coming from the internal plumbing system or from outside. So, here’s what you can do to find out:
- The rain test: you should observe the leak when there is heavy rain in order to determine if the dampness intensifies or starts dripping after the rain starts. If this is the case, you’re likely dealing with an external leak.
- The utility test: if the wall remains wet during a dry spell, the leak is most likely internal. You should try to turn off all faucets and check your water meter. If the dial is still spinning, you likely have a pipe leak behind the drywall.
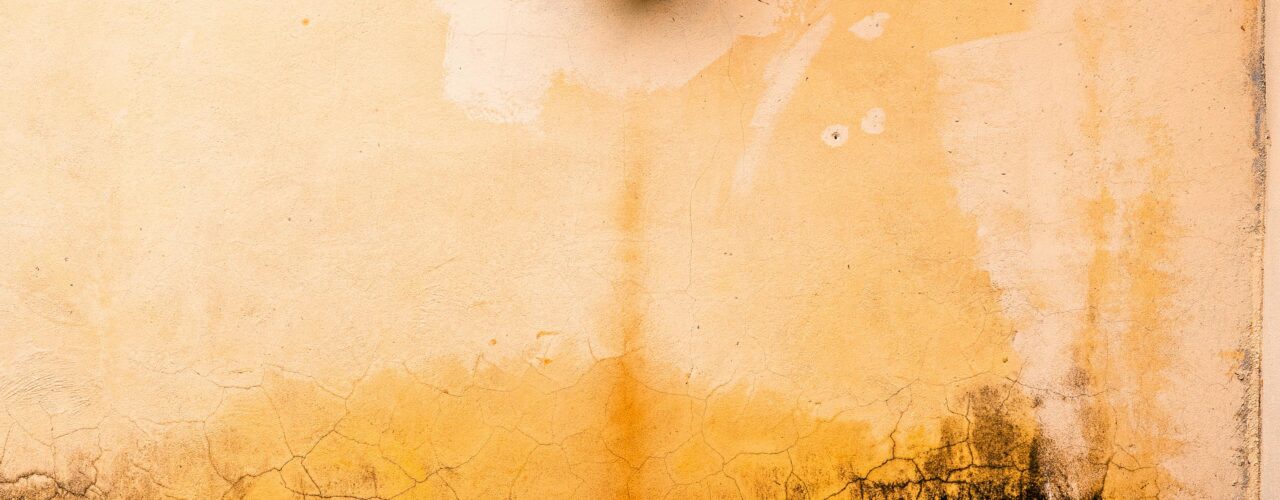
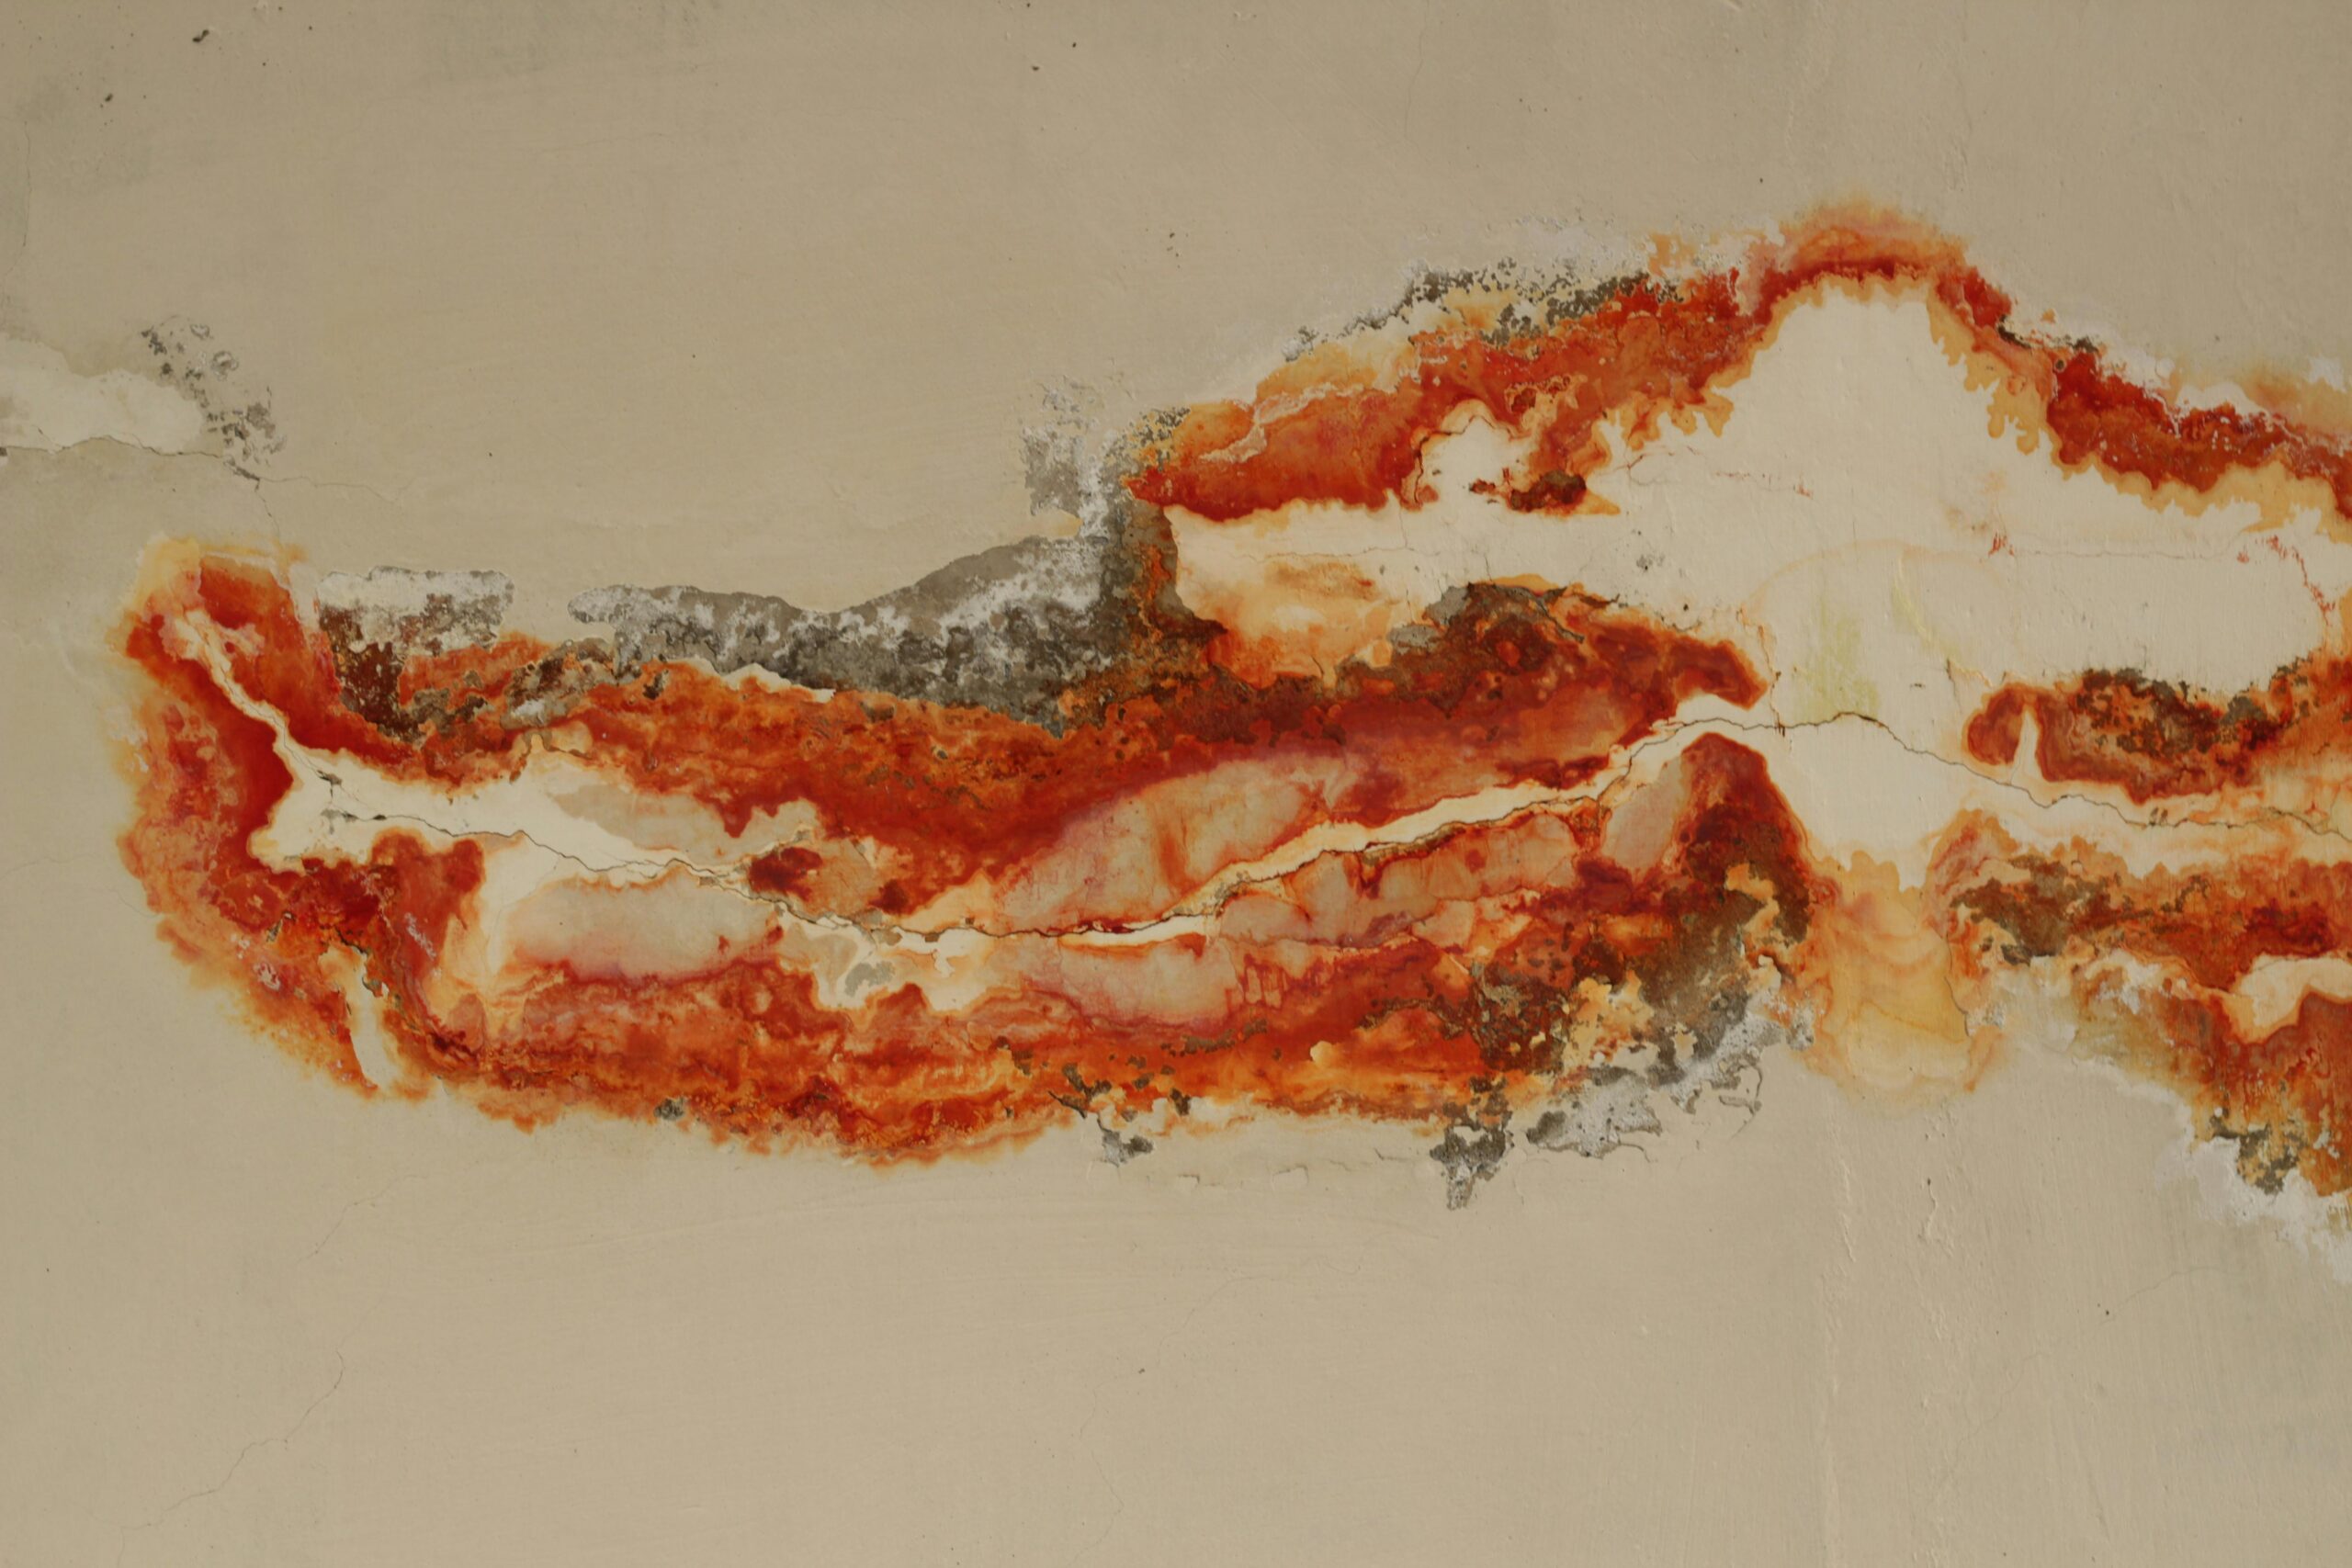
Common leaky wall symptoms and what they mean
Here are specific things to look out for when trying to decide whether or not you’re dealing with a leaky wall:
- Bubbling/peeling paint: This usually indicates trapped moisture directly behind the surface. This could be from a window frame or a small pipe leak.
- Efflorescence: This is a salt on brick or concrete that has formed from evaporating water and is a classic sign of leaky walls that has been caused by groundwater or porous masonry.
- Musty odours: moisture is likely trapped in the insulation or a wall cavity if you can smell a damp-like odour.
Why do walls leak?
When you understand why walls leak, you’ll be able to fix the problem at its root cause, rather than making temporary fixes that you’ll need to revisit in the future. Here’s what causes leaky walls:
Poor drainage and gutters
Some leaky walls aren’t a result of the walls themselves being at fault. Rather, if your gutters are clogged or the downspouts discharge water at the base of the foundation, the ground will become oversaturated. This then causes pressure to force water through microscopic cracks in the basement or crawl space walls.
Degraded masonry and siding
The mortar between bricks is usually extremely porous, just like the bricks themselves, so over the decades, the mortar can crumble. This will allow the rain to soak through the mortar into the interior studs.
Window and door flashing
The seams of the property will be the most vulnerable points. If the caulking has dried out or cracked, the rain will be pulled into the wall cavity whenever it rains.
DIY fixes for leaky walls
If you’ve caught the issue early on, you might be able to fix the problem yourself. This will save you a lot of money! Here’s what you can do if you’re able to fix leaky walls yourself:
Sealing the envelope
For leaks caused by external issues, it’s best that you use high-quality silicone caulk and masonry sealer:
- Clean the area: Make sure to scrape the old caulk from the window frames so that the area is clean.
- Apply sealant: Use a weather/water-resistant sealant to close any gaps you find.
- Masonry waterproofing: If your brickwork is sweating, be sure to use a clear silane-siloxane sealer to allow the brick to breathe while keeping liquid out.
Clearing the path
You always need to make sure that your gutters are clear and that your landscaping slopes away from the property. You can also look at your soil so that it drops 1 inch for every foot of distance. This will help solve leaky walls in the basement area.

When to call the professionals for leaky walls
There may be times, however, when you need to consult a professional for your leaky walls, and trying to fix the issue yourself will cause more harm than good. Here’s who to call:
- The plumber: If you suspect a leaking joint behind the wall, be sure to call a licensed plumber straight away, as they will be able to use thermal imaging cameras to find exactly where the leak is without tearing down your entire wall.
- The foundation specialist: If you’ve spotted a large horizontal crack with water in your basement wall, this is a sign that there is a structural issue with the property. You may then need another solution to stabilise the house, like piering or carbon fibre straps.
- The mould remediation expert: If the leak covers a larger surface area than 10 square feet or if it has been active for more than 48 hours, you’ll need to invest in professional mould removal for health reasons.
Repairing the interior damage
Once you have managed to sort out the leak, you can start looking at restoring any interior damage caused. For example:
The drying phase
Use a heavy-duty humidifier and industrial fans to dry the damp spot. Definitely don’t just paint over it. If the drywall feels soft, it should be replaced with new drywall.
Stains
Using an oil-based or a shellac-based primer to paint over the water stain is your best bet in being able to hide the stain from the water damage.
Finishing touches
Once the primer has dried, sand it lightly to ensure that the wall looks smooth and is even with the rest of the wall. Next, you can apply your top coat.
Long-term leaky wall prevention
Here’s a list of the things you can do in each season to ensure you don’t have to deal with leaky walls again:
| Season | Task |
| Spring | Inspect exterior siding for winter damage; check window caulking. |
| Summer | Check the attic for signs of roof leaks (look for light coming through or water spots). |
| Autumn | Clear gutters and ensure downspouts extend 5+ feet from the foundation. |
| Winter | Monitor for ice dams on the roof, which can force water into walls. |
Dealing with leaky walls needs to be done via a process and cannot be rushed. Don’t ever just paint over the damp spot; instead, look for the cause of the leaky wall, fix the issue, dry the wall, and repair as much as you can.
Are you looking for landlord insurance to help protect your rental property? Get in touch with our team of specialists at CIA Landlords to get your tailored quote on 01788 818 670. Also, be sure to visit our advice centre for more information on how to manage your rental property.
We won't be beaten on any like for like landlord insurance quote.
Get a quote