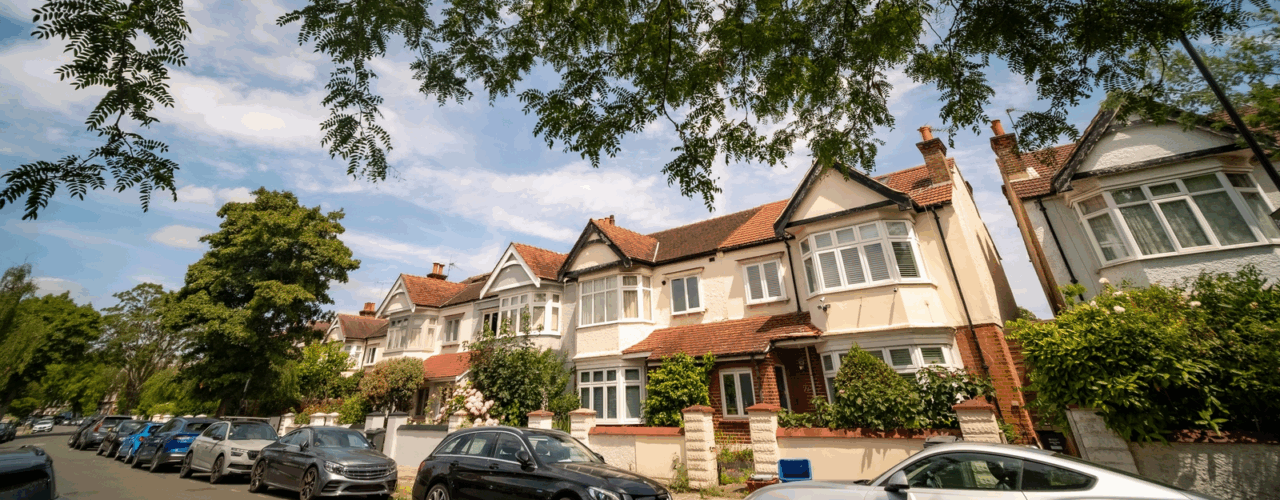
How to pass an HMO inspection
22-12-2025 | Property Maintenance & InteriorsHMO inspections are a normal routine part of running a shared rental property, but they can still feel nerve-wracking if you’re not sure what to expect. Even if you do, the fear of failing might always be in the back of your mind.
With a bit of preparation, most inspections are straightforward to pass. Let’s guide you through the key things to get in place before a visit, what typically happens on the day and how to make future inspections as stress-free as possible.
HMO inspection meaning
HMO inspections are in place by councils to ensure that your HMO is safe, well-managed and meets the legal standards for things like space, facilities and basic upkeep. Generally, the local council or housing officer carrying out the inspection will be assessing:
- Safety (fire, gas, electrics)
- Overcrowding and amenities
- Management and documentation
You can expect your licensed HMO to be typically inspected at least once during its five-year license period. If you have a higher-risk property due to previous issues or management concerns, this could be brought forward and inspected more frequently. Additionally, a five-yearly electrical safety certificate is legally required for all HMOs, and annual gas safety checks are mandatory.
If your HMO is unlicensed, a council may still wish to inspect it if there is reason to believe that there are hazards present.
Generally, you will either pass your inspection, pass with recommendations, or receive an improvement notice or enforcement, which is formal action taken by the council when you’re not complying and don’t put things right.
What can trigger an HMO inspection?
So, aside from the five-yearly regular inspection, what can trigger an HMO inspection? The most common trigger is a tenant or neighbour complaint regarding the property’s condition or management. This could be unsafe living conditions, damp and mould, fire hazards, overcrowding, pest issues or anti-social behaviour by tenants. Serious incidents such as fire, gas leaks or structural collapse in an HMO will also lead to an inspection by the relevant authorities.

Aside from complaints, more ‘routine’ triggers for an HMO inspection include:
- The licensing process (applying for a new licence or renewing an existing licence)
- Proactive council programmes where local authorities identify and assess potential HMOs and ensure they are safe and properly managed
- Failure to provide documentation, such as mandatory safety certificates.
Preparing for an HMO inspection
To put your mind at ease and prepare yourself for your HMO inspection, it’s a good idea to conduct your own mock inspection first so that you can pick up on anything that might need fixing prior. Walk through the property as you imagine an inspector would, checking the outside of the property, the common areas, bedrooms and amenities. If you have a managing agent, you could involve them, or better still, your tenants. They are the people living in the property day-to-day and may know parts of the building better than you might.
Create a simple checklist with any actions that come out of your mock inspection, and off the back of this, an action plan with deadlines.
Here are the main things to focus on:
Legal and licensing
Firstly, before you start inspecting your building, check the legal and licensing elements. Do you have the correct HMO licence in place? Not only this, but are the licence conditions being complied with? This includes the maximum occupants, room use, amenities, waste, etc. Make sure that your room sizes match the number of occupants inside and that you have no unauthorised extra occupants currently residing in the property.
The inspector might ask to see tenancy agreements, deposit protection scheme information and Right to Rent checks (if applicable), so make sure you have these to hand.
Fire safety
Next up – fire safety. During your walk-around, check the following:
- You have the correct type of fire alarm system for the property size
- Fire alarms are in good working order
- You have access to servicing records
- Fire escape routes are clear and unobstructed (halls and stairwells)
- Fire doors are suitable
- Emergency lighting and signage are in place (if required for the property size)
- Fire-fighting equipment (extinguishers and fire blankets), if provided, is present, labelled and in date.
You should also make sure that your tenants have access to fire action notices and are aware of what to do in an emergency.
Gas, electrical and general safety
Other safety elements include gas and electrical safety. It’s really important that all HMO landlords have a valid gas safety certificate and evidence of annual checks. Similarly, on the electrical side, ensure that you have an in-date EICR and evidence that any past reported issues have been resolved.
This extends to your appliances. As a landlord, you should PAT test any appliance with a plug that your tenants use. This includes washing machines, fridges, kettles, microwaves, toasters, lamps and televisions.
Other general safety aspects include ensuring that the heating and hot water in the property are working correctly and that the structure of the property is sound – no loose bannisters, damaged steps or the like.
Amenities and facilities
Next, inspect the amenities and facilities within the property. Is there enough of everything to accommodate the number of tenants, and are they in good working order and hygienic? In the kitchen, inspect the cookers, sinks, worktop space, cupboards, fridges and freezers. In the bathroom, focus on the usual facilities, along with the extractor fans, and check for any build-up of mould anywhere.
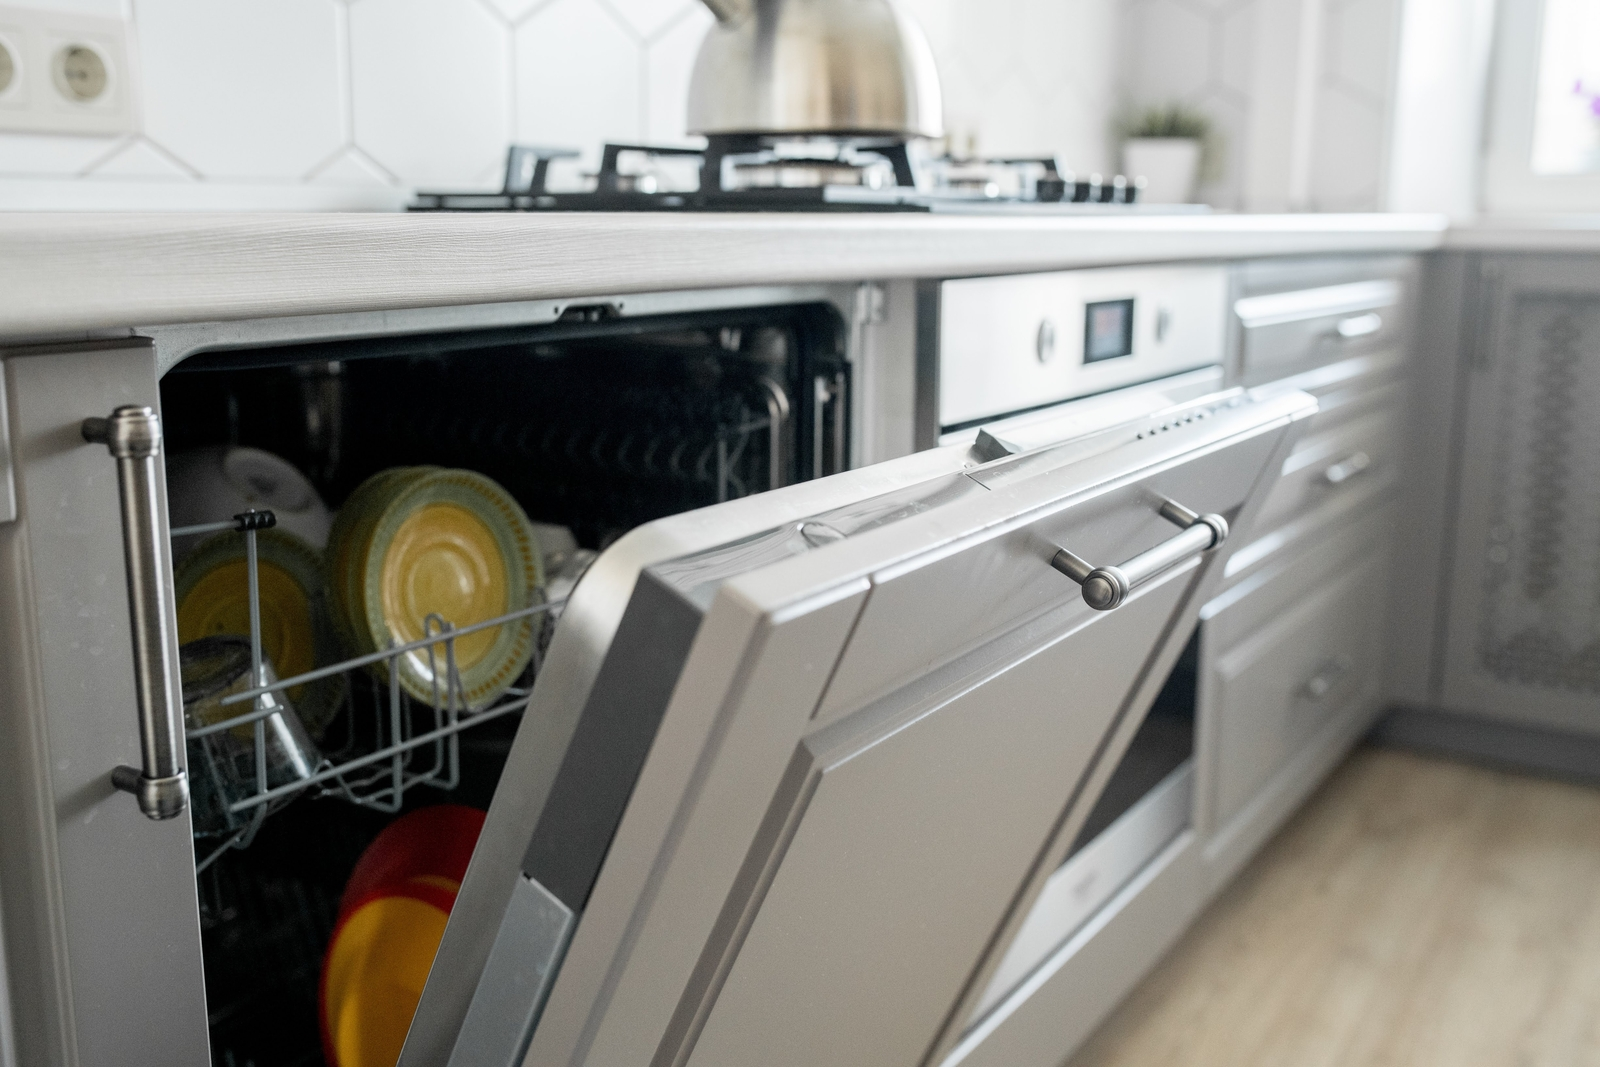
You’ll want to think about access to laundry facilities and whether you’ve provided adequate refuse and recycling bins, both inside and outside the property. Lastly, inspect all the furniture and furnishings provided in the property, ensuring they are in good condition and fire-safe where required.
Tenant management
It’s not just the general condition of the property that’s important in an HMO inspection. Inspectors will also be assessing your tenant management. Think house rules and regulations around things like noise, rubbish, guests and smoking/vaping. Make sure these rules are given in writing at the start of the tenancy and are easy to find in the property, for instance, on a noticeboard in the hallway.
It’s also important to have a simple process in place for tenants to report repairs, safety concerns and anti-social behaviour. Your tenants need to know who to contact, how to contact them and what response time to expect. When it comes to your inspection, it’s useful to be able to show a clear trail of reports and responses to demonstrate your management skills. Keep records of everything you’ve done, from follow-up emails to written warnings.
Documentation
Have your documentation handy prior to the inspection. You’ll want to make sure you have access to:
- Gas Safety Certificate
- EICR
- Fire alarm and emergency lighting test records
- Fire risk assessment
- HMO licence
- Property management records, such as maintenance and repair logs
- Example tenancy agreement
- Deposit protection details
- Right to Rent records.
What to expect on HMO inspection day
On HMO inspection day, remember that first impressions matter. Your inspector or council officer will probably start with the external areas, main entrance, hallways and stairwells. Make sure these are well-lit and free from obstructions. They will then work methodically around the property, looking at both the condition and how it’s being used. They may speak briefly to your tenants, taking photographs of the property and writing notes as they go.
At some point, they’ll ask to see your key documents, so having everything ready in a folder makes the visit smoother and leaves a good impression. Once the inspection is complete, you’ll receive some initial feedback, giving you an idea of whether everything looks good or whether there are any immediate issues. A formal outcome then usually follows in writing, which will include any recommended improvements if applicable.
If you fail or receive improvement notices, respond to these promptly and prioritise any urgent safety issues. Provide evidence of the remedial work with photos, invoices and certificates.
Passing an HMO inspection isn’t about jumping through hoops in order to get a green light. It’s about running a safe, well-managed home all year round. You won’t need to worry about that upcoming inspection if you know that you’re across everything already.
Alongside compliance, you also need the right protection in place. A robust HMO landlord insurance policy can help safeguard you against the financial impact of things going wrong, from property damage to liability claims. Make sure your insurance matches the way your HMO is actually used, so your property is protected while you’re meeting your legal duties as a responsible landlord.
Need an up-to-date landlord insurance quote? Contact CIA Landlord Insurance today, and our experts can help. Get a quote or request a callback.
We won't be beaten on any like for like landlord insurance quote.
Get a quote